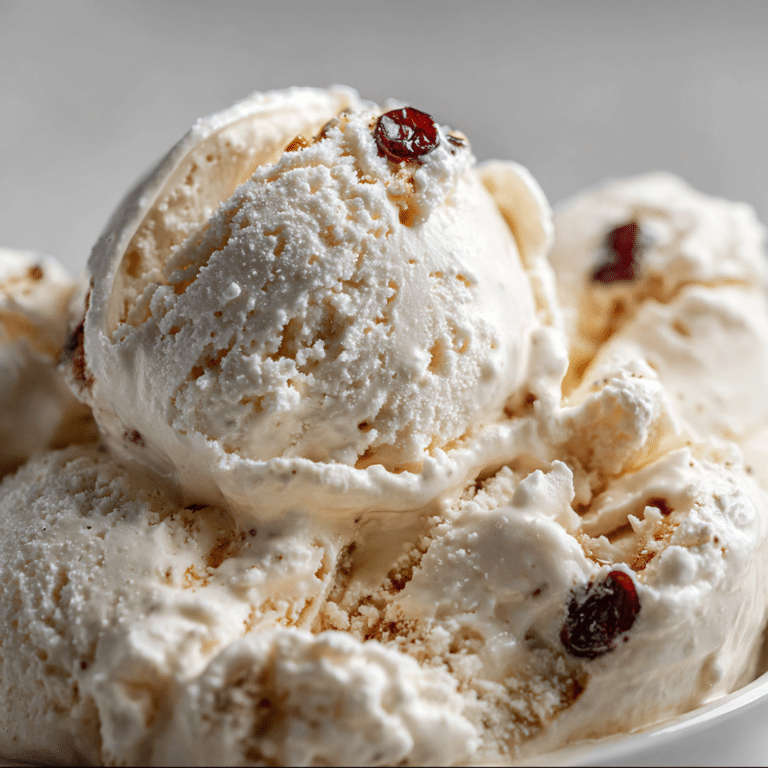
How to Make Vanilla Bean Coconut Ice Cream
Indulge in the creamy, dreamy delight of Vanilla Bean Coconut Ice Cream, a homemade treat that’s dairy-free, rich, and bursting with tropical charm. This luscious dessert combines the warm, aromatic essence of real vanilla beans with the smooth, natural creaminess of coconut milk to create a perfect scoop of paradise you can enjoy anytime. Whether you’re avoiding dairy or simply crave an irresistible, fresh ice cream, this recipe promises a velvety texture and a flavor profile that’s both elegant and refreshingly exotic.
Why You’ll Love This Recipe
- Dairy-Free Delight: Perfect for those with lactose intolerance or anyone looking for a plant-based treat.
- Rich and Creamy Texture: Thanks to full-fat coconut milk and real vanilla beans, every bite feels indulgent.
- Simple Ingredients: Easy to find pantry staples that come together quickly to create a gourmet experience.
- Customizable Flavor: A versatile base that’s easy to tweak with your favorite add-ins or toppings.
- Tropical Twist: Brings a fresh, summery vibe to the classic vanilla ice cream everyone loves.
Ingredients You’ll Need
Gathering just a handful of quality ingredients ensures this Vanilla Bean Coconut Ice Cream hits all the right notes. Each plays a vital role, from the creamy base to the natural vanilla flavor and the perfect sweetness that balances it all.
- Full-Fat Coconut Milk: The creamy foundation that gives the ice cream its luscious texture and tropical richness.
- Vanilla Bean: Real vanilla beans provide the deep, aromatic flavor that powder or extract can’t match.
- Maple Syrup or Agave Nectar: Natural sweeteners that blend seamlessly for just the right hint of sweetness.
- Pinch of Sea Salt: Enhances the flavors and balances the sweetness perfectly.
- Vanilla Extract (optional): Adds an extra layer of vanilla depth when fresh beans aren’t available.
Variations for Vanilla Bean Coconut Ice Cream
This Vanilla Bean Coconut Ice Cream recipe is a fantastic base that invites creativity, letting you adapt it effortlessly to suit your tastes or dietary needs. From adding mix-ins to swapping sweeteners, small changes make big flavor impacts.
- Chocolate Swirl: Add melted dark chocolate ribbons for a classic pairing with vanilla and coconut.
- Fruit Infusion: Mix in fresh mango or pineapple chunks for an extra tropical burst.
- Nutty Crunch: Stir in toasted almonds or macadamia nuts for texture and rich flavor.
- Sweetener Swap: Replace maple syrup with honey or coconut sugar for different sweetness notes.
- Low-Sugar Version: Use a sugar substitute like erythritol to keep it light while maintaining creaminess.

How to Make Vanilla Bean Coconut Ice Cream
Step 1: Prepare the Vanilla Bean
Start by splitting the vanilla bean lengthwise and scraping out the fragrant seeds with the back of a knife. These tiny black specks hold the flavor magic and will infuse your ice cream with that unmistakable vanilla aroma.
Step 2: Combine the Ingredients
Pour the full-fat coconut milk into a mixing bowl and whisk in the vanilla seeds, maple syrup, and a pinch of sea salt. Stir everything until fully combined and smooth, ensuring the sweetness is balanced to your liking.
Step 3: Chill the Mixture
Cover the mixture and refrigerate it for at least 2 hours or until it’s completely cold. This step is crucial for getting a silky texture once churned and helps the flavors meld beautifully.
Step 4: Churn the Ice Cream
Pour the chilled mixture into your ice cream maker and churn according to the manufacturer’s instructions, typically around 20 to 25 minutes. Watch as it transforms from liquid to creamy perfection.
Step 5: Freeze Until Firm
Transfer the churned ice cream to an airtight container and freeze for at least 4 hours or overnight. This final chill sets the texture, making every scoop smooth and scoopable.
Pro Tips for Making Vanilla Bean Coconut Ice Cream
- Use Full-Fat Coconut Milk: It provides the necessary fat content for a creamy and rich texture.
- Don’t Skimp on Vanilla Beans: Real vanilla beans elevate the flavor far beyond extract or powder.
- Chill the Mixture Properly: Ensures better texture when churning and prevents ice crystals.
- Be Patient While Freezing: Give it enough time to firm up for perfect spoonability.
- Add Mix-Ins Last: Incorporate any nuts, fruit, or chocolate bits near the end of churning to keep their texture intact.
How to Serve Vanilla Bean Coconut Ice Cream
Garnishes
Top your Vanilla Bean Coconut Ice Cream with toasted coconut flakes, fresh vanilla beans, or a sprinkle of cinnamon for a beautiful and flavorful finish.
Side Dishes
Pair this tropical treat with warm fruit compote, vegan brownies, or freshly baked cookies to create a delightful dessert combo everyone will rave about.
Creative Ways to Present
Serve in coconut shells for a tropical vibe or make cute ice cream sandwiches using dairy-free cookies to take your presentation up a notch and impress friends and family.
Make Ahead and Storage
Storing Leftovers
Keep any leftover Vanilla Bean Coconut Ice Cream in an airtight container in the freezer to maintain its freshness and prevent freezer burn.
Freezing
This ice cream freezes beautifully for up to 2 weeks; just make sure it’s covered tightly to avoid absorbing any freezer odors.
Reheating
Allow the ice cream to sit at room temperature for 5 to 10 minutes before scooping to soften slightly for the best texture without melting.
FAQs
Is this Vanilla Bean Coconut Ice Cream completely dairy-free?
Yes! This recipe uses coconut milk instead of dairy cream, making it perfect for anyone avoiding dairy products.
Can I make this recipe without an ice cream maker?
Absolutely. You can freeze the mixture in a shallow container and stir every 30 minutes to break up ice crystals until smooth.
How long does homemade Coconut Ice Cream last in the freezer?
Stored properly in an airtight container, it will stay fresh and delicious for up to two weeks.
Can I use vanilla extract instead of vanilla beans?
Yes, but real vanilla beans provide a richer flavor and the classic speckled look that makes the ice cream extra special.
Is this recipe suitable for vegans?
Definitely. All the ingredients are plant-based, making it a wonderful vegan-friendly dessert option.
Final Thoughts
This Vanilla Bean Coconut Ice Cream is your new go-to for a dairy-free dessert that never compromises on flavor or texture. Its rich, velvety feel paired with the pure, aromatic vanilla bean makes every bite a little tropical escape. Don’t hesitate to whip up a batch and share the joy of this creamy classic reinvented with a coconutty twist!
Related Posts
- Crave-worthy Chocolate Protein Pudding Recipe
- 5 Reasons Chocolate Chia Pudding Boosts Energy
- How to Make Delicious Watermelon Fruit Pizza
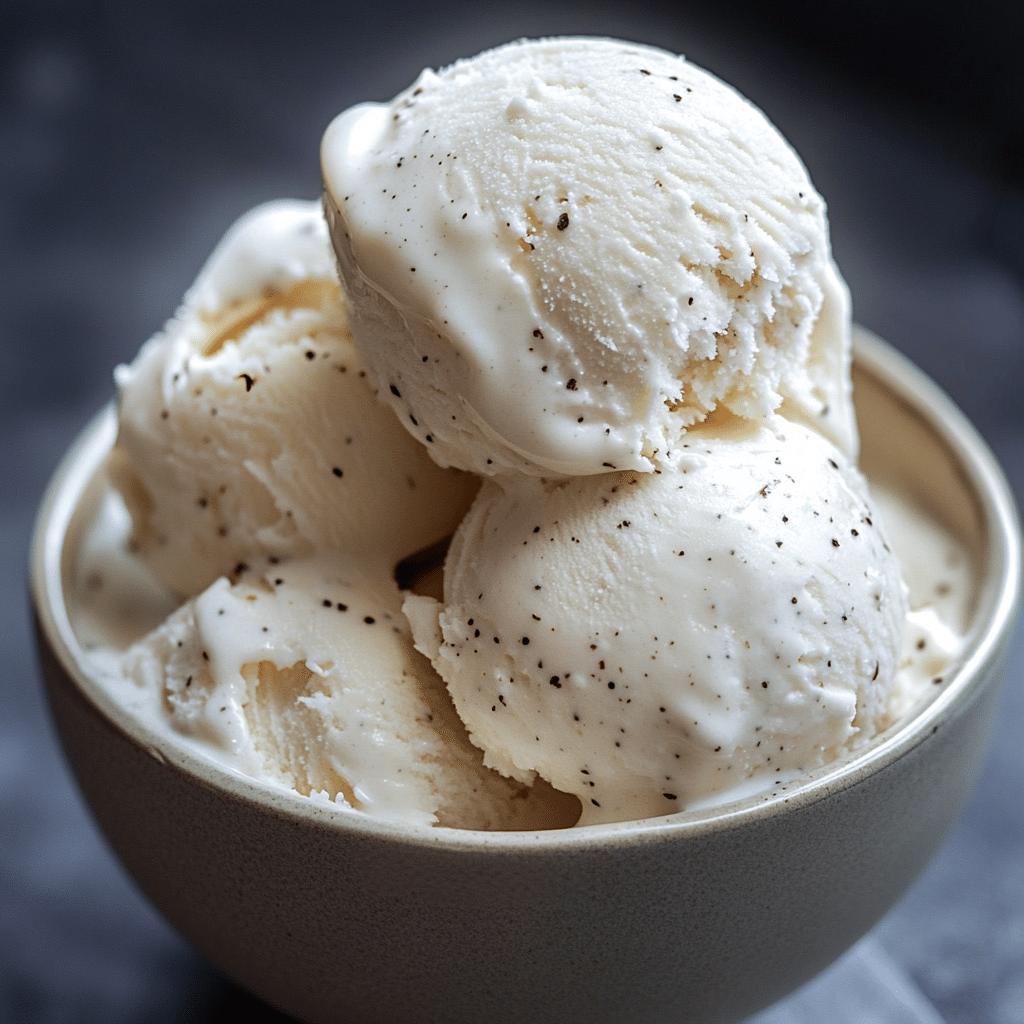
Vanilla Bean Coconut Ice Cream
Indulge in the creamy, dairy-free delight of Vanilla Bean Coconut Ice Cream, a rich and velvety dessert bursting with tropical coconut flavor and real vanilla bean aroma. Perfect for those avoiding dairy or anyone craving a fresh and exotic homemade ice cream that combines simple, natural ingredients into a luscious frozen treat.
- Prep Time: 10 minutes
- Cook Time: 25 minutes (churning time)
- Total Time: 6 hours 35 minutes (including chilling and freezing)
- Yield: Approximately 4 cups (about 8 servings) 1x
- Category: Dessert
- Method: Churning
- Cuisine: Vegan / Dairy-Free
- Diet: Gluten Free, Vegan, Dairy Free
Ingredients
Base Ingredients
- 2 cans (13.5 oz each) full-fat coconut milk
- 1 vanilla bean, split lengthwise and seeds scraped
- ¼ cup maple syrup or agave nectar (adjust to taste)
- Pinch of sea salt
- 1 tsp vanilla extract (optional, if vanilla bean is unavailable)
Instructions
- Prepare the Vanilla Bean: Split the vanilla bean lengthwise and scrape out the fragrant seeds using the back of a knife. These seeds will infuse the ice cream with rich vanilla flavor.
- Combine the Ingredients: Pour the full-fat coconut milk into a mixing bowl and whisk in the vanilla seeds, maple syrup (or agave nectar), and a pinch of sea salt. Stir until fully combined and smooth, adjusting sweetness as desired. Add vanilla extract if using.
- Chill the Mixture: Cover the bowl and refrigerate the mixture for at least 2 hours, or until completely cold. This ensures a silky texture once churned and allows the flavors to meld.
- Churn the Ice Cream: Pour the chilled mixture into an ice cream maker and churn according to the manufacturer’s instructions, usually about 20 to 25 minutes, until it reaches a creamy consistency.
- Freeze Until Firm: Transfer the churned ice cream to an airtight container and freeze for at least 4 hours or overnight to let it firm up, ensuring smooth and scoopable texture.
Notes
- Use full-fat coconut milk for the creamiest texture and richest flavor.
- Real vanilla beans provide superior aroma and classic speckled appearance compared to extracts or powders.
- Proper chilling of the mixture before churning prevents ice crystals and improves texture.
- Be patient when freezing to get the perfect firmness for easy scooping.
- Add mix-ins like nuts, fruits, or chocolate bits near the end of churning to preserve their texture.
Nutrition
- Serving Size: ½ cup
- Calories: 180
- Sugar: 12g
- Sodium: 35mg
- Fat: 15g
- Saturated Fat: 13g
- Unsaturated Fat: 2g
- Trans Fat: 0g
- Carbohydrates: 14g
- Fiber: 1g
- Protein: 1g
- Cholesterol: 0mg
Keywords: vanilla bean ice cream, coconut ice cream, dairy-free dessert, vegan ice cream, homemade frozen dessert, tropical ice cream